
- Version
- 12.1.0
- Studio or maker
- iZotope
- Languages
- English
- Activation
- K'ed by TEAM HCiSO
- Runs on macOS
- macOS 13.7 or later
- Chip type
- Apple Silicon, Intel 64-bit
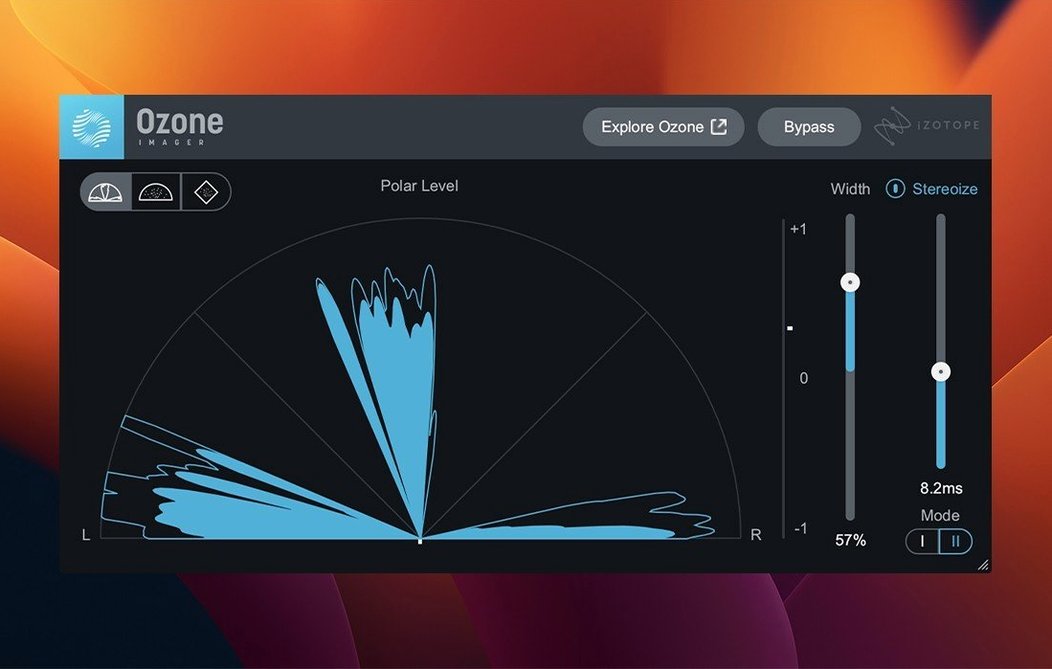
If you've ever used a standalone audio editor or a DAW's built-in tools, Ozone 12 feels like the next step up: a full mastering suite that runs as AU, AAX, and VST3 plugins on both Intel and Apple silicon Macs. Before you install, here are the questions people usually ask.
- Is it just one plugin? No, it's a suite of mastering modules, including the Unlimiter and Stem EQ.
- Version 12.1.0 supports macOS 13.7 or later, on both Intel and M-series Macs.
- Are there any format limits? All formats are 64-bit only, so older 32-bit hosts won't see it.
- Does it play nice with my DAW? The latest update added Cubase 15 to supported hosts, alongside the usual AU, AAX, and VST3 slots.
- Any known fixes in this version? Yes, it addresses slow UI loading and a mono-to-stereo output issue.
Overdoing compression and EQ in your first sessions
Ozone 12 is powerful enough that it's easy to overdo things, especially if you're new to mastering. Here are the patterns I've seen more than once at the game club's audio corner, and in my own early sessions.
- Using every module at once. The suite gives you twenty pro plugins, and it's tempting to chain them all. More often than not, this leads to a crushed, lifeless sound. Mastering is about small adjustments. Start with two or three modules — say the Maximizer and the Stabilizer — and add more only if something specific is missing.
- Maximizer output at full blast. The IRC 5 limiting mode sounds clean, but cranking it to the ceiling pushes the mix into distortion you might not hear on first listen. Leave a little headroom, around -0.5 to -1 dB, and check the result on headphones, speakers, and earbuds.
- Ignoring the AI assistant. Some people skip the assistant because they want full manual control. That's fine, but the AI-powered assistant isn't there to replace your ears — it sets a reasonable starting point. Trying it first saves time and shows you how the modules interact before you tweak.
- Mono-to-stereo confusion. Version 12.1.0 fixed an issue where mono-to-stereo instances didn't output stereo processing correctly. If you're working with a mono source, double-check that the plugin is in stereo mode and that your DAW's track is set to stereo. Otherwise you might export a mono file without realizing it.
- Forgetting to match loudness. When you toggle the module on and off, the volume difference tricks you into thinking the processed version is better. Use the output gain to match levels before comparing. That way you judge the tonal change, not the loudness jump.
Setting the sample rate before your first master
Before you start mastering your first track, a few quick adjustments will make the workflow smoother. These aren't hidden, but they're easy to overlook on a first run.
- Check the sample rate. Ozone 12 handles whatever your session uses, but if your DAW is set to a high rate like 96 kHz, some modules use more CPU. For most projects, 48 kHz is plenty. Set it in your DAW, not in Ozone itself.
- Set the default module chain. You can load a template chain that matches your usual genre. The Stabilizer module comes with 25 genre targets. Pick one that fits — rock, electronic, classical — as a foundation. You'll still adjust each module, but you won't start from zero every time.
- Adjust the Maximizer's IRC mode. The IRC 5 mode is new in this version and works well for transparent limiting. If you're mastering something with a lot of dynamic range, like acoustic music, try IRC 4 instead. It's a little less aggressive and preserves more of the original feel.
- Turn on oversampling if needed. Some modules introduce aliasing at higher frequencies. If you hear harshness in the top end, enable oversampling in the Maximizer or the EQ. It uses more CPU, but it cleans up the sound noticeably.
- Name your presets. After you dial in a chain you like, save it as a preset. Ozone 12's preset system works across sessions, so you can recall a mastered sound for similar tracks later. It's a small habit that saves time.
Where Ozone fits between Logic Pro and WaveLab on Mac
Ozone 12 isn't the only mastering suite for Mac, but it fills a specific spot. Here's how it stacks up against two other options you might come across.
Ozone 12 versus FabFilter Pro-L 2
FabFilter Pro-L 2 is a single limiter plugin, not a full suite. It's excellent for precise loudness control and has a clean interface. But it doesn't include an EQ, a stereo imager, or the AI assistant. If you need just a limiter and already have other plugins for EQ and compression, Pro-L 2 is a strong choice. Ozone 12 gives you everything in one package, which is easier when you want a unified workflow and don't want to match plugins from different makers.
Ozone 12 versus LANDR
LANDR is an online mastering service, not a local plugin. You upload a track and get back a mastered file. It's fast and requires no setup, but you have no control over individual modules. You can't adjust the EQ curve or change the limiting style after the fact. Ozone 12 keeps the processing on your machine and gives you hands-on control. If you're learning mastering, Ozone 12 teaches you what each step does. LANDR is more of a black box.
Ozone 12 versus Neutron (iZotope's mixing suite)
Neutron is iZotope's mixing suite, designed for individual tracks and buses, not the master bus. It has similar AI tools, but it's aimed at balancing a mix rather than final loudness and polish. Some people use Neutron on each track and Ozone 12 on the master. The two work well together, but if you're only mastering, Ozone 12 is the right choice. Neutron lacks the Maximizer and the Unlimiter, which are essential for mastering.
Loading Ozone on a finished mix first
Once Ozone 12 is installed and authorized, the first few sessions set the tone for how you'll use it. Here's what I suggest doing in the first week.
- Load it on a finished mix. Don't start with a project you're still mixing. Grab a track that sounds good but not polished, and run the AI assistant on it. Listen to what the Stabilizer and Maximizer do. You'll learn more from one real track than from hours of reading.
- Try the assistant on different genres. The Stabilizer has 25 genre targets. Load a rock track and select the rock target, then load a jazz track and pick the jazz target. Notice how the EQ curve changes. It trains your ear to hear what each genre typically needs in the master.
- A/B test with the bypass. Use your DAW's bypass on the whole Ozone 12 instance. Don't bypass individual modules — toggle the whole chain. Listen for the difference in clarity, width, and loudness. If the processed version sounds worse, remove modules one by one until you find the culprit.
- Export at different loudness levels. Master the same track twice: once with the Maximizer set to -8 LUFS and once to -14 LUFS. Compare them on phone speakers and headphones. You'll start to hear how loudness affects perceived quality.
- Use the Unlimiter carefully. The Unlimiter can bring back transients that the limiter squashed. It's a great tool, but it's easy to overcorrect. Apply it after the Maximizer, and only if the track sounds dull or flat. Less is more here.
A podcast editor fixing inconsistent loudness
Maria edits a weekly interview podcast and used to rely on her DAW's stock compressor and limiter. The results were okay, but the episodes sounded inconsistent — some too loud, others thin. She installed Ozone 12 after a listener complained about volume jumps between segments.
Her first attempt was too heavy: she loaded the Maximizer, the Unlimiter, the Bass Control, and the Stabilizer all at once. The speech sounded crushed and unnatural. She stripped it back to just the Stabilizer, set the genre target to "Speech / Podcast," and let the AI assistant set a starting EQ. Then she added the Maximizer with IRC 5 on a gentle setting, just lifting the level by 2 dB. The result was a clean, consistent voice that stayed clear on laptop speakers and in-ear buds.
She now keeps a preset for podcast work: Stabilizer on speech target, Maximizer with IRC 5, and nothing else. It took three sessions to figure out, but the difference is noticeable. Her listeners haven't complained since.
Keeping it simple
Ozone 12 can do a lot, but the best results come from using only what the track needs. If you find yourself adding module after module, step back and ask what problem each one solves. Usually the answer is one or two modules, not six.
That covers the essentials. Once it's installed, you can focus on the actual sound, not the setup.
- Fixed slow UI loading and instantiation times.
- Fixed stereo output handling for mono-to-stereo instances.
- Added Cubase 15 to supported host versions.
- Changed supported macOS versions.
- macOS 13.7 or later
- Intel or Apple silicon Mac
- AU, AAX, VST3 formats (64-bit only)
- Interface in English
Questions I keep getting
Does Ozone 12 work on Apple silicon Macs?
Yes, version 12.1.0 is compatible with both Intel and Apple silicon M-series Macs, as long as you're on macOS 13.7 or later.
What plugin formats does Ozone 12 support?
It comes as AU, AAX, and VST3 plugins, and all formats are 64-bit only.
What did version 12.1.0 fix?
It fixed slow UI loading and instantiation times, plus an issue where mono-to-stereo instances didn't process stereo output correctly.
How to install
- Follow the included installation and activation instructions. This ensures the plugins land in the right folders for your DAW.
- Enter the installation password provided with the release. That final step completes the setup.
Similar apps






Sign in or join the club to leave a comment.
Nobody has commented yet.